


- Resmi Gönderi

The Metin2 Monster Card system brings the card mission, collection stars and achievement bonuses together in one window. In the card mission you kill target monsters and earn cards, and as you raise stars in your collection you unlock features such as transformation, teleport and summon.
The system is open in the game and has no level requirement. All characters on the same account see the same collection. By spending cards on achievement bonuses you unlock open world and dungeon bonuses. Only one open world bonus is active at a time, while all dungeon bonuses can be active together.
What the Monster Card System Is and How to Open It

The Monster Card window opens with the Monster Card button on the expanded taskbar. The window has four tabs: Card Mission, Open World Collection, Dungeon Collection and Achievement Bonus.
There is no level requirement for the system. Card mission and collection progress are tied to the account. All characters on the same account see the same collection, so cards collected with one character also show up on the other characters of that account.
Card Mission Step by Step
The parts of the window are numbered in the image below. The table under the image explains what each number shows.
To take a mission, press Accept Mission. 3 target monsters are picked from the deck of that mission level. Once all three targets are killed, a check mark appears in the corner of each target. Then you claim the reward with the Collect Monster Card button. The reward is the Monster Card of one of the three targets, chosen at random. The card goes to your inventory. If your inventory has no free space, no card is given.
A Monster Card is used with a right click in the inventory. The game asks for confirmation. After you confirm, the card is added to that monster's collection. After every card reward the mission level goes up by one and a new deck appears. There are 15 mission levels. After level 15 the mission starts again from level 1. The higher the level, the stronger the target monsters.
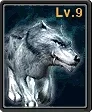
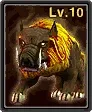
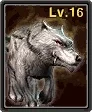
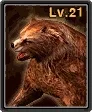
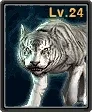
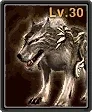
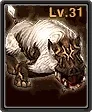
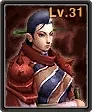
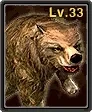
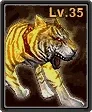
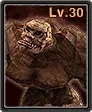
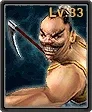
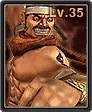
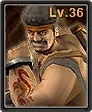
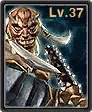
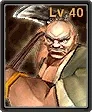
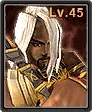
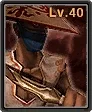
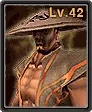
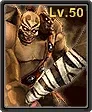
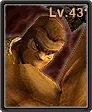
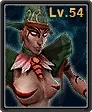
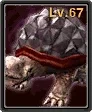
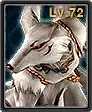
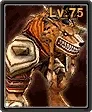
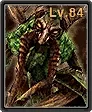
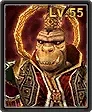
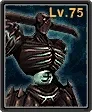
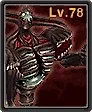
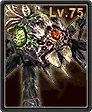
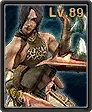
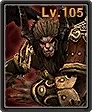
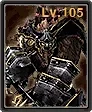
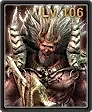
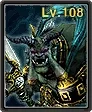
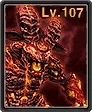
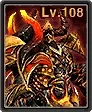
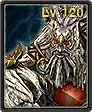
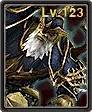
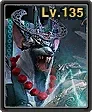
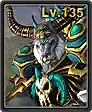
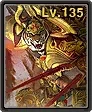
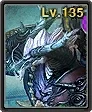
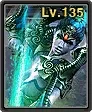
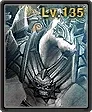
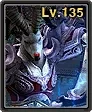
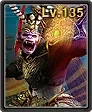
The decks differ by mission level. Levels 1 to 3 have 13, levels 4 to 6 have 15, levels 7 to 9 have 11, levels 10 to 12 have 14 and levels 13 to 15 have 23 different monster cards. The deck of each level range is shown card by card below.
Mission levels and deck cards
| Level range | Number of cards |
|---|---|
| Levels 1-3 | 13 cards |
| Levels 4-6 | 15 cards |
| Levels 7-9 | 11 cards |
| Levels 10-12 | 14 cards |
| Levels 13-15 | 23 cards |
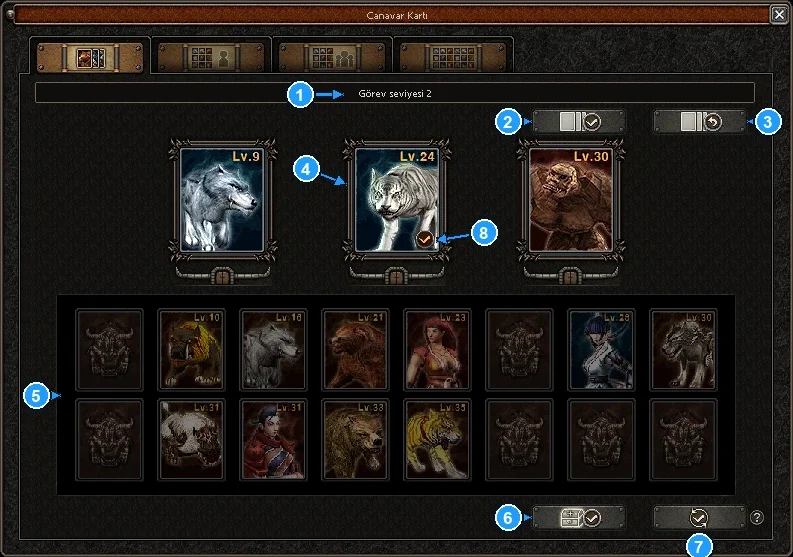
Numbers in the card mission window
| No. | What it shows |
|---|---|
| 1 | Mission level |
| 2 | Accept Mission button |
| 3 | Shuffle Mission Cards button |
| 4 | The 3 selected target cards |
| 5 | The deck of that level |
| 6 | Collect Monster Card button |
| 7 | Reset Mission Level button |
| 8 | Check mark on a killed target |
Levels 1-3


Levels 4-6





Levels 7-9

Levels 10-12
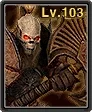
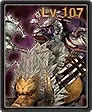
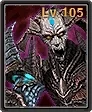
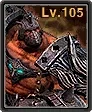


Levels 13-15



Shuffling Mission Cards and Resetting the Mission Level
The Shuffle Mission Cards button draws 3 new targets at the same mission level. If all three targets have already been killed, the button cannot be used. This requires an extra card. It is the way to go when the mission gets too hard.
The Reset Mission Level button takes the mission back to level 1. The first reset within 24 hours is free. Later resets require extra cards.




Where Monster Cards Drop

When a monster from the card list is killed, its Monster Card can drop on the ground with a low chance, even if the monster is not a mission target. For a short time a dropped card belongs only to the player who made it drop. This way you can also collect cards for your collection outside the card mission.
Collection Stars and Required Card Counts
As you add cards to the collection, the bar under the monster fills up. When the bar is full, the Promote button gives the monster one star and the bar starts over for the next star. There are 5 stars at most. After the 5th star the game says Cannot be promoted any further.
Collection stars and required cards
| Star | Cards for this star | Total cards |
|---|---|---|
| 1st star | 9 cards | 9 cards |
| 2nd star | 21 cards | 30 cards |
| 3rd star | 30 cards | 60 cards |
| 4th star | 60 cards | 120 cards |
| 5th star | 90 cards | 210 cards |
Features Unlocked by Stars
When you select a monster, its model appears on the right. You can rotate the model and zoom in. Below the model you see the Collected Monster Cards count and the feature buttons: Promote, Swap, Movement, Transform, Teleport, Summon. The buttons unlock as the number of stars rises.
With the 2nd star the Movement button unlocks and you can watch the monster's movements in the window. With the 3rd star the Transform button unlocks and your character turns into that monster. The cooldown is 3 hours. It cannot be used while mounted or while already transformed. If the monster's level is too high compared to your character's level, the transformation does not happen. How long it lasts depends on the Polymorph skill: 5 minutes if the skill is not learned, 10 minutes if it is learned and 35 minutes if the skill is at P level.
With the 4th star the Teleport button unlocks and your character is teleported to the area where the monster lives. The cooldown is 30 minutes. If your level is too low, the game says Your current level is not high enough to teleport. With the 5th star the Summon button unlocks and the monster is summoned next to your character. The cooldown is 12 hours.
Features unlocked by stars
| Star | Button | What it does | Cooldown |
|---|---|---|---|
| 2nd star | Movement | Shows the monster's movements in the window | - |
| 3rd star | Transform | Turns your character into that monster | 3 hours |
| 4th star | Teleport | Teleports your character to the monster's area | 30 minutes |
| 5th star | Summon | Summons the monster next to your character | 12 hours |






When you press Transform, the game asks whether you want to transform into this monster. If you choose Yes, the transformation starts.
Tradeable Monster Card
A normal Monster Card cannot be traded. The Swap button turns several cards of the same monster into a single tradeable Monster Card. The game tells you how many cards will be used before you confirm. A tradeable card is also added to the collection when you use it.
How Achievement Bonuses Work
The Achievement Bonus tab has two parts: Open World Achievements and Dungeon Achievements. Only one open world bonus can be active at a time. All dungeon bonuses can be active at the same time. An active bonus works on every map.
To claim an achievement, every monster in its group must have at least 1 star in your collection. Claim Achievement spends cards. Each star of an achievement costs this many cards for every monster in the group: 1st star 9, 2nd star 30, 3rd star 60, 4th star 120, 5th star 210. All five stars together cost 429 cards per monster. Spent cards are taken out of the collection, so the stars in your collection can go down. The game warns you that this selection cannot be undone.
Some achievements start at the 3rd or 4th star instead of the 1st. A claimed bonus is switched on and off with Use. You can switch freely between claimed open world bonuses, but only one of them is active at a time. The dungeon achievements, with their monsters and bonus values, are listed in the dungeon achievements section below.
Card cost of claiming an achievement (per monster)
| Achievement star | Cards per monster |
|---|---|
| 1st star | 9 cards |
| 2nd star | 30 cards |
| 3rd star | 60 cards |
| 4th star | 120 cards |
| 5th star | 210 cards |
Open World Achievements and Bonuses
Open world achievements are tied to groups of monsters in the open world and give bonuses such as defence, attack value, max. HP, movement speed, attack speed, max. SP, intelligence, strength and vitality.
Some achievements share the same monster. Alpha Wolves and Leader of the Pack both build on Cung-Mok and Mu-Rang, while Lykos counts for both Leader of the Pack and Unique. Brothers, Family Ties and Hardly Human share monsters such as Mahon, Goo-Pae and Chuong. Eternal Guardians, Nephrite Guardians and Rulers of the Thunder Mountains only give a bonus at the 4th and 5th star. The cards of each achievement are shown one by one below the table.
Open world achievements and bonus values
| Achievement | Bonus | 1st star | 2nd star | 3rd star | 4th star | 5th star |
|---|---|---|---|---|---|---|
| Alpha Wolves | Defence | +7 | +13 | +25 | +30 | +40 |
| Leader of the Pack | Defence | +5 | +10 | +25 | +35 | +50 |
| Unique | Strong against Animals | +5% | +10% | +15% | +20% | +25% |
| Tiger, Bear, Boar | Attack Value | +15 | +30 | +55 | +75 | +100 |
| Revenge of the White Oath | Max. HP | +60 | +80 | +110 | +150 | +200 |
| Revenge of the Black Storm | Movement Speed | +3% | +5% | +7% | +9% | +12% |
| Brothers | Max. HP | +50 | +75 | +100 | +200 | +300 |
| Family Ties | Attack Value | +10 | +25 | +50 | +100 | +125 |
| Cruel and Brutal | Attack Speed | +3% | +5% | +10% | +12% | +15% |
| Hardly Human | Max. SP | +80 | +160 | +240 | +320 | +400 |
| Eternal Guardians | Intelligence | - | - | - | +1 | +2 |
| Nephrite Guardians | Strength | - | - | - | +1 | +2 |
| Rulers of the Thunder Mountains | Vitality | - | - | - | +1 | +2 |
| Trouble on Gautama Cliff | Dexterity | - | - | - | +1 | +2 |
| Guardian of the Levels | Sung Ma's Will (RES) | - | - | +1 | +3 | +10 |
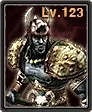
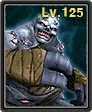
| Sung Mahi's Quag | Sung Ma's Will (INT) | - | - | +1 | +3 | +10 |
| Half-Human Ruler | Precision | - | - | - | +2% | +5% |
| Icy Guardian | Sung Ma's Will (VIT) | - | - | +1 | +3 | +10 |
Alpha Wolves
Leader of the Pack
Unique
Tiger, Bear, Boar
Revenge of the White Oath
Revenge of the Black Storm
Brothers
Family Ties
Cruel and Brutal
Hardly Human
Eternal Guardians
Nephrite Guardians
Rulers of the Thunder Mountains
Trouble on Gautama Cliff
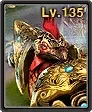
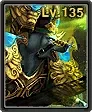
Guardian of the Levels

Sung Mahi's Quag
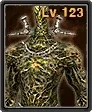
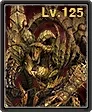
Half-Human Ruler
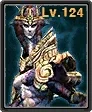

Icy Guardian
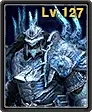
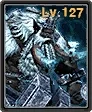
Dungeon Achievements and Their Bonuses
All dungeon achievement bonuses can be active at the same time. Most of them start at the 4th star, some at the 3rd. The cards of each achievement are shown one by one below the table.
Dungeon achievements and bonus values
| Achievement | Bonus | 1st star | 2nd star | 3rd star | 4th star | 5th star |
|---|---|---|---|---|---|---|
| Monkey’s Uncles | Chance to avoid Arrows | - | - | - | +1% | +3% |
| Cave Rulers | Magic/melee attack | - | - | - | +1% | +3% |
| Devilish | Chance, to restore HP | - | - | - | +1% | +3% |
| Sung Mahi’s Servants | Strength against monsters | - | - | - | +1% | +3% |
| The End Justifies the Means | Vitality | - | - | - | +1 | +2 |
| Forest Guardians | Max. SP | - | - | - | +1% | +3% |
| Sung Mahi’s Generals | Max. HP | - | - | - | +1% | +3% |
| Zodiac of Lightning | Power of Lightning | - | - | - | +3% | +10% |
| Zodiac of Fire | Power of Fire | - | - | - | +3% | +10% |
| Zodiac of Ice | Power of Ice | - | - | - | +3% | +10% |
| Zodiac of Wind | Power of the Wind | - | - | - | +3% | +10% |
| Zodiac of Earth | Power of Earth | - | - | - | +3% | +10% |
| Zodiac of Darkness | Power of Darkness | - | - | - | +3% | +10% |
| The Cave Trio | Chance to block a close-combat attack | - | - | +1% | +3% | +10% |
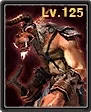
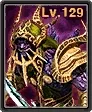
| The Poisonous Queen | Sung Ma's Will (STR) | - | - | - | +2 | +5 |
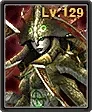
| The Burning Tower | Fire Resistance | - | - | - | +2% | +5% |
| The Frozen Tower | Ice resistance | - | - | - | +2% | +5% |
| The Electrified Tower | Lightning Resistance | - | - | - | +2% | +5% |
| The Stormy Tower | Wind Resistance | - | - | - | +2% | +5% |
| The Steadfast Tower | Earth resistance | - | - | - | +2% | +5% |
| The Dark Tower | Resistance against darkness | - | - | - | +2% | +5% |
| Alastor's End | Attack Value | - | - | +150 | +175 | +250 |
Monkey’s Uncles
Cave Rulers
Devilish
Sung Mahi’s Servants
The End Justifies the Means
Forest Guardians
Sung Mahi’s Generals
Zodiac of Lightning
Zodiac of Fire
Zodiac of Ice
Zodiac of Wind
Zodiac of Earth
Zodiac of Darkness
The Cave Trio

The Poisonous Queen
The Burning Tower
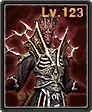
The Frozen Tower
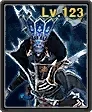
The Electrified Tower
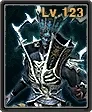
The Stormy Tower
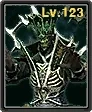
The Steadfast Tower
The Dark Tower
Alastor's End


Which Monsters Have Cards and Where to Hunt Them
In the 1st village areas of the kingdoms you find Cung-Mok, Mu-Rang, Jug-Hyul, Young-Ji, Li-An, Mi-Jung, Se-Rang, Jin-Hee, Lykos, Scrofa, Bera and Tigris.
In the 2nd village areas of the kingdoms you find Black Storm Soldier, Black Storm Maniac, Black Storm Archer, Black Storm Joh-Hwan, Black Storm Kyuk-Jang, Black Storm Pho-Hwan, Mahon, Bo, Goo-Pae, Chuong, Bestial Archer, Bestial Specialist and Bestial Captain. In the Valley of Seungryong you hunt Chief Orc, Bestial Archer and Bestial Specialist.
Supreme Gnoll Guard and Martyaxwar live at Cape Dragon Fire, Triton and Red Chief in Nephrite Bay, and Polyphemos, Brutal Red Chief and King Wubba in the Thunder Mountains. Skeletos and The Great Ogre are hunted at Gautama Cliff, Nine Tails on Mount Sohan and Flame King in Fireland.
Among the world bosses, Yellow Tiger Ghost belongs to the Open World Collection, while Dragon Watcher Idall and Bagjanamu belong to the Dungeon Collection. Demon King, Death Reaper and Beran-Setaou are also part of the Dungeon Collection.
What to Know Before Spending Cards
Shared monsters can appear in more than one achievement. Cung-Mok and Mu-Rang are part of both Alpha Wolves and Leader of the Pack, Lykos of both Leader of the Pack and Unique, Mahon and Goo-Pae of both Brothers and Family Ties, and Chuong of both Family Ties and Hardly Human. Spending cards on one achievement also lowers the stars that the other achievement relies on.
Raising an achievement star by spending cards can lower the stars in your collection, and this cannot be undone. Only one open world bonus can be active at a time, while all dungeon bonuses can stay on together.